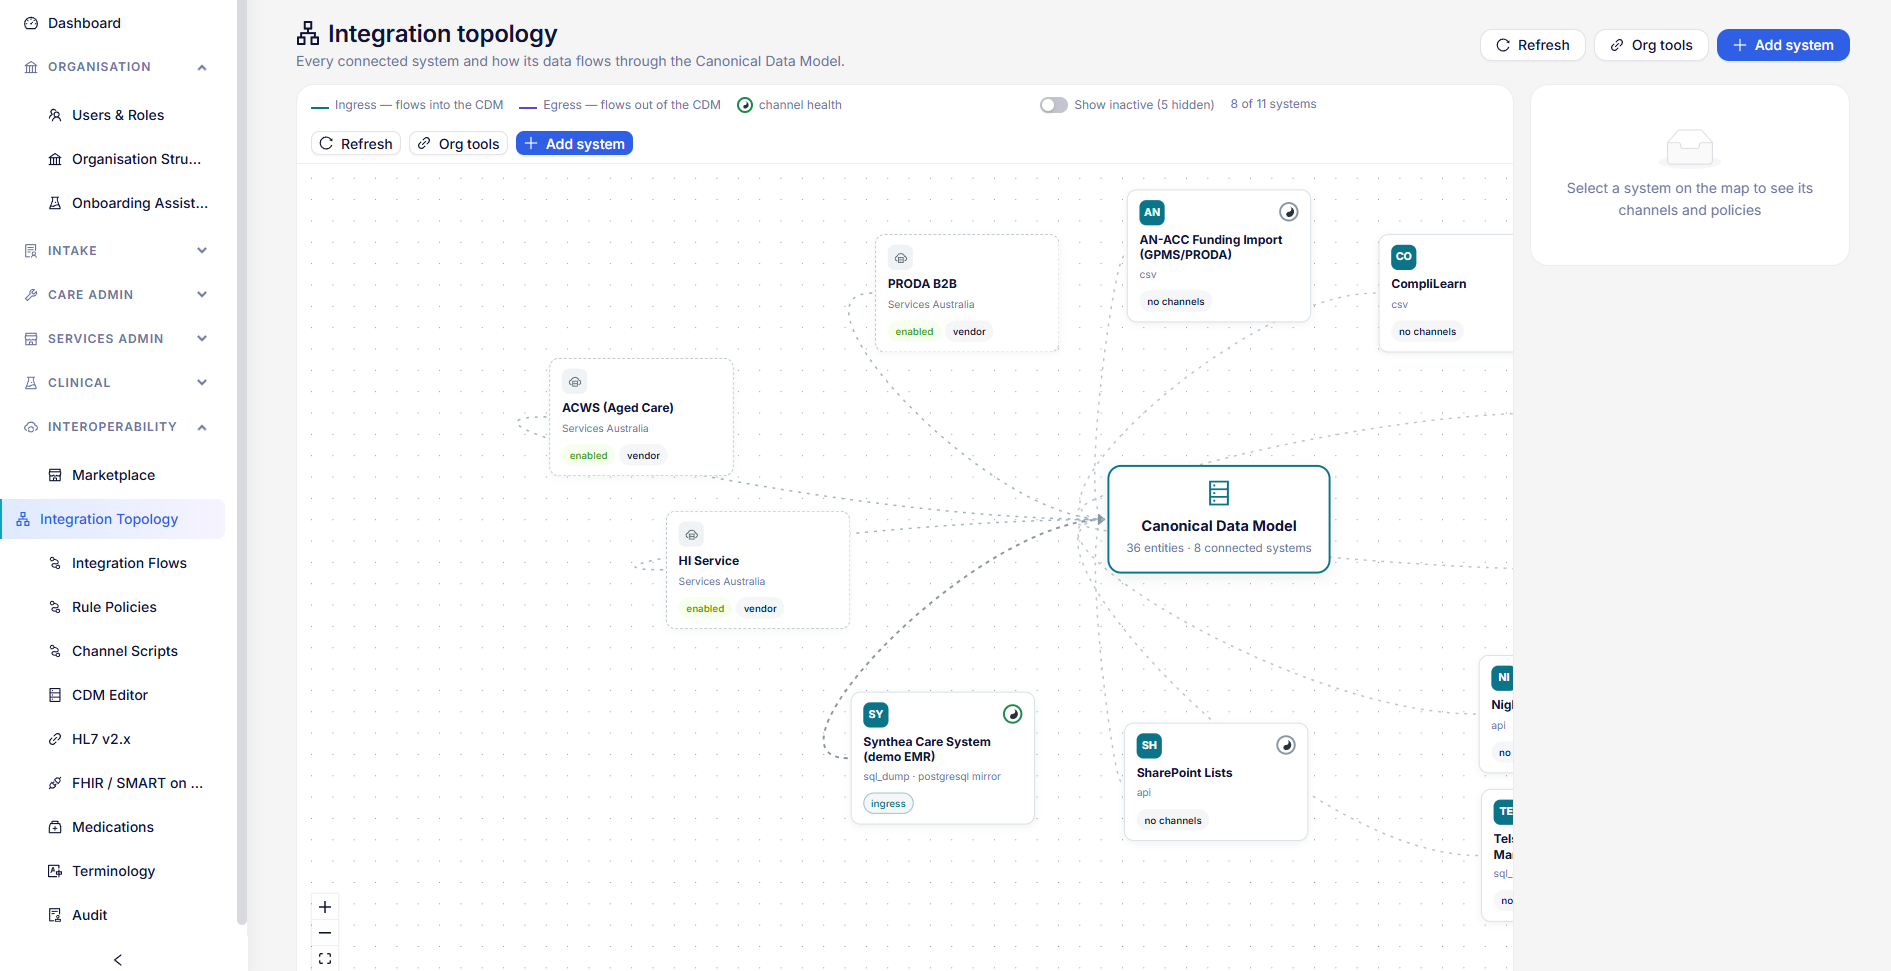
Pathways, forms and letters
The steps staff follow, and the forms and letters those steps use.
How they fit together
A pathway is the set of steps staff follow for a piece of work: a referral, an admission, a monthly claim, a service. Its steps can ask for a form to be completed or a letter to be produced. So build forms and letters first, publish or activate them, then add them to pathways.
Forms, letters and pathways each appear under more than one menu (Intake, Care Admin, Clinical). The menus only filter what is shown: they edit one shared library.
Changing any of them needs settings rights (an administrator, or a manager holding settings.config.update) and a specific organisation selected in the picker, not the all-organisations view.
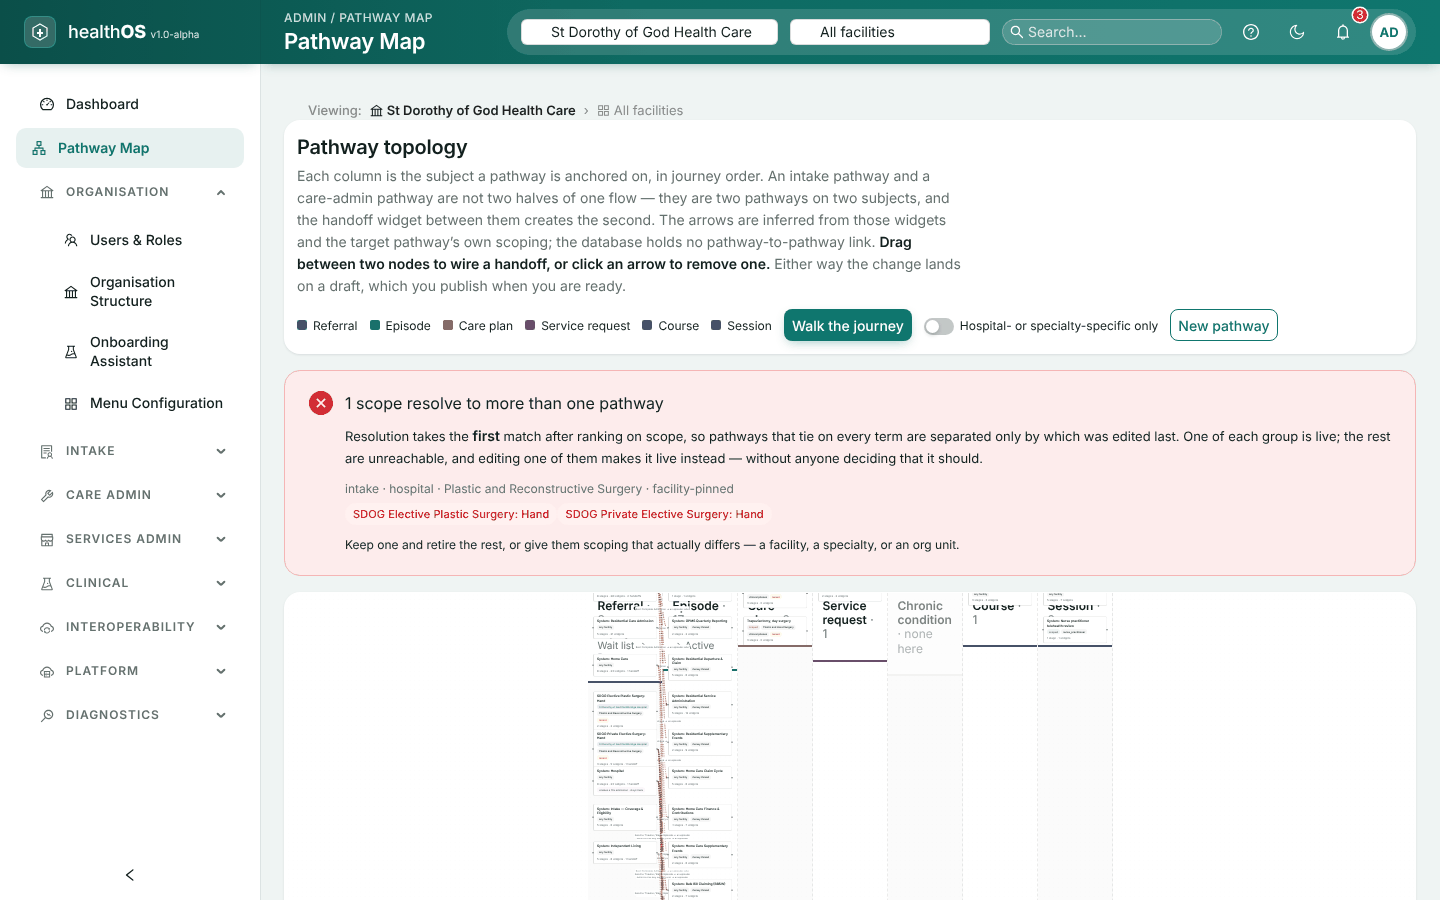
Pathway Map
Pathway Map shows every pathway as a box, in columns by what it runs against (a referral, a pre-admission, an episode, a care plan, a service request, a chronic condition, a course or a session). The arrows show where one pathway hands a person on to another.
- Walk the journey follows a person from a starting pathway, one handoff at a time.
- Connect two pathways. Drag from one box to another, choose the stage the handoff goes on, and choose Wire it on a draft. To remove a handoff, choose its arrow and Remove it on a draft.
- New pathway creates a pathway as a draft.
- Publish. Every change from the map is a draft until you publish it from the drafts notice at the top.
- Warnings. The map warns when more than one pathway could apply to the same situation.
Connecting a HealthOS standard pathway makes your organisation its own copy, which no longer receives HealthOS’s updates to that pathway.
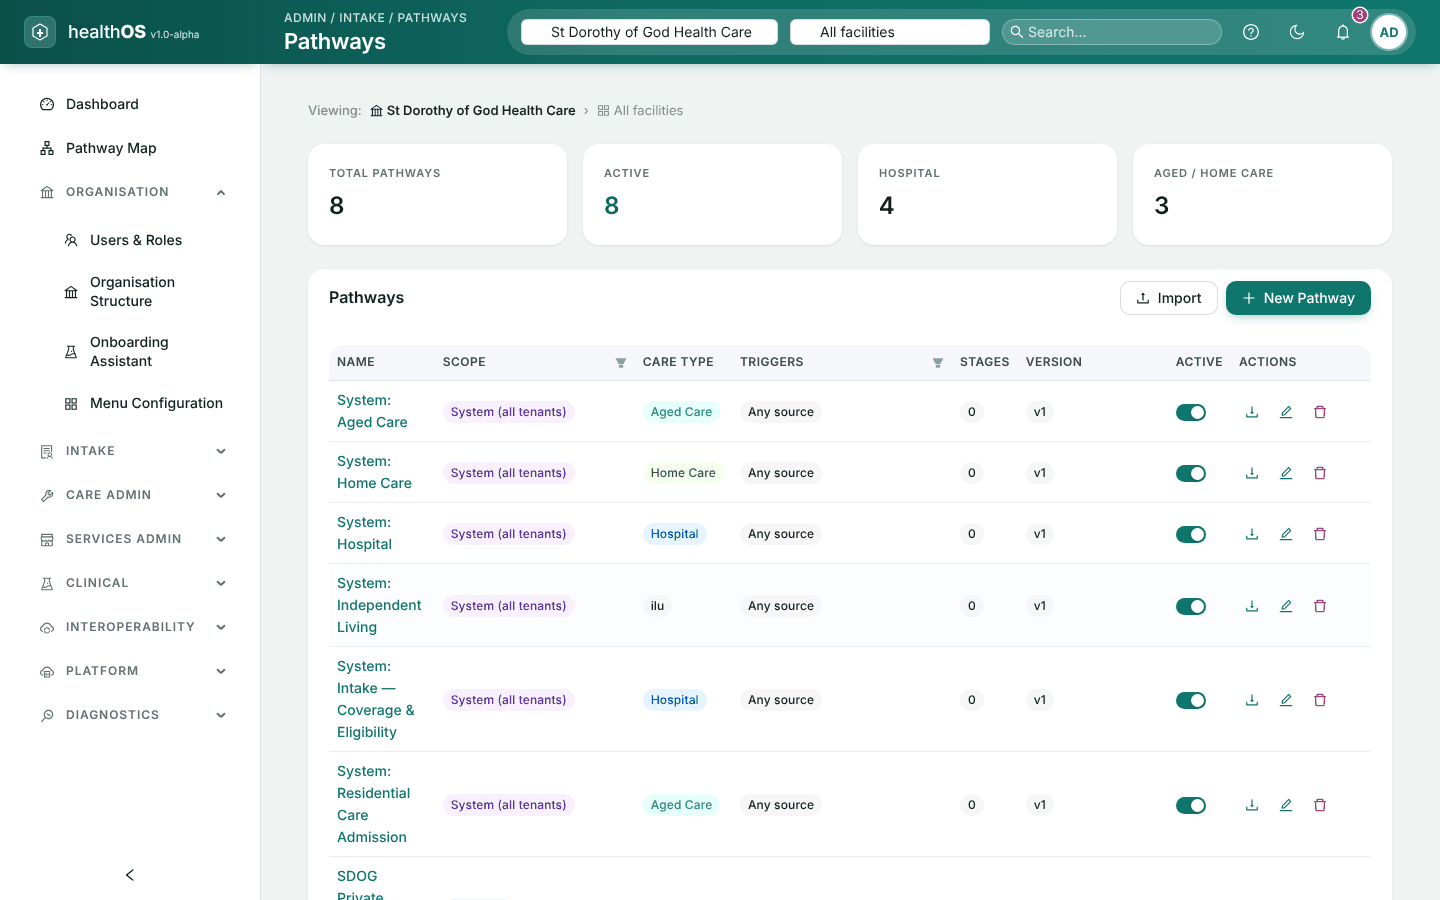
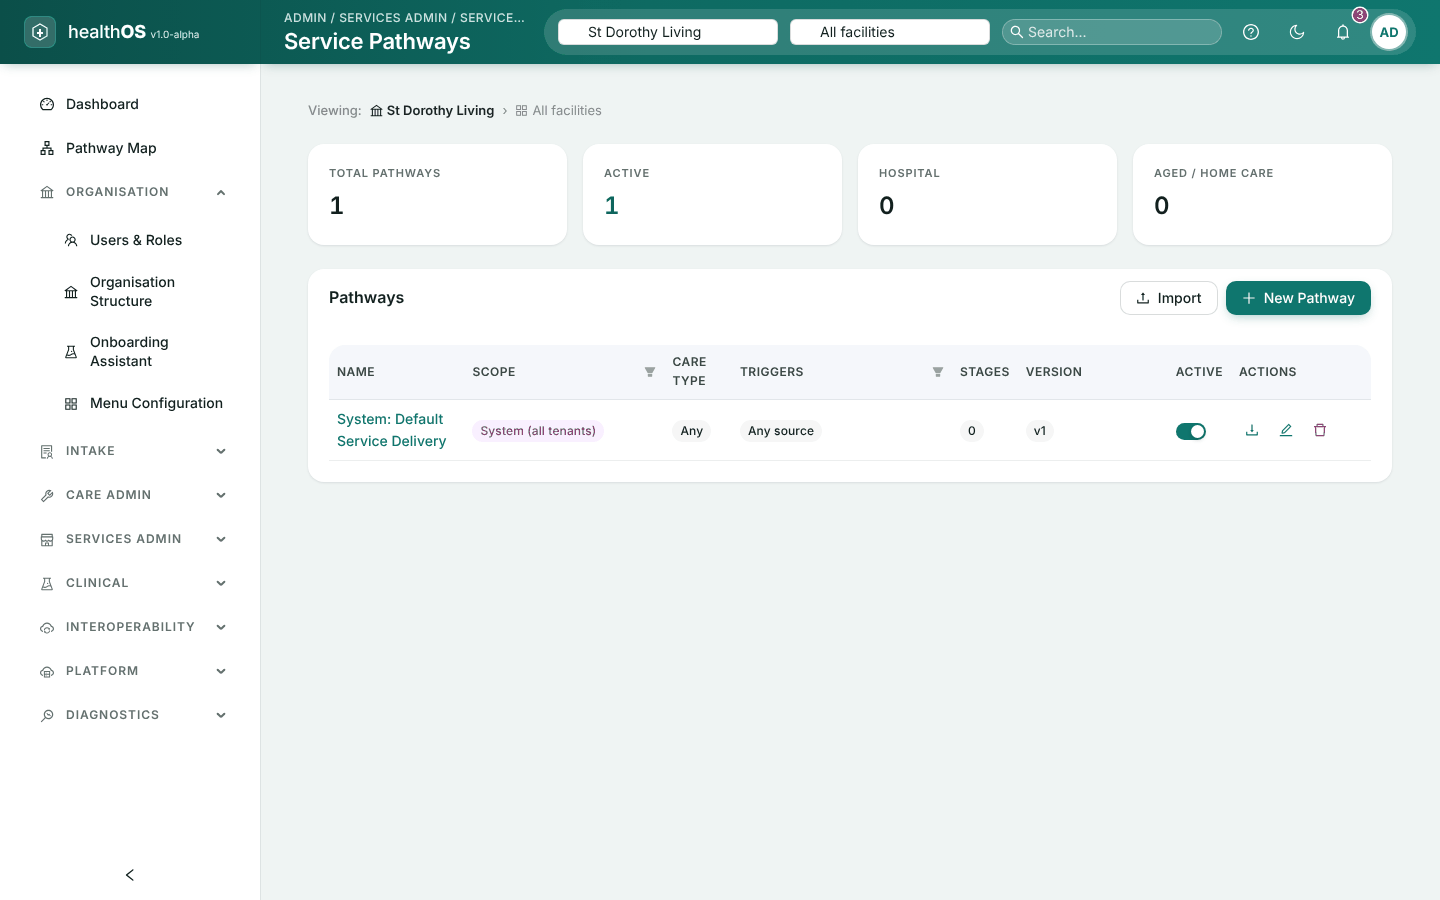
Pathways
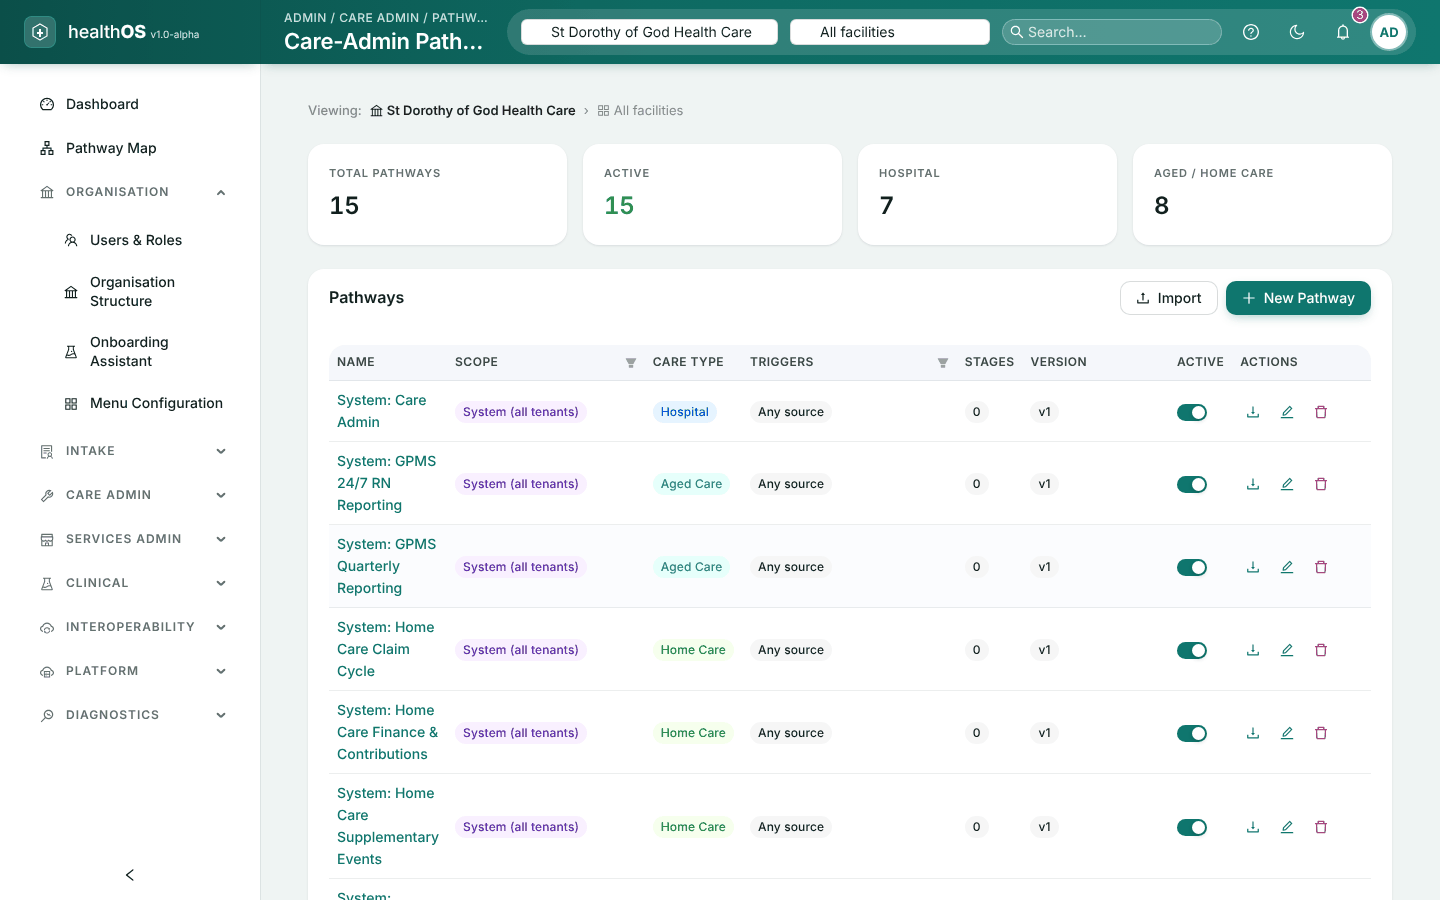
Each menu builds pathways for one kind of work:
| Menu | Runs against | Chosen by |
|---|---|---|
| Intake › Pathways | A referral | Care type, specialty, organisation unit and the referral source types it is set for |
| Care Admin › Pathways | An admitted person’s episode | Staff, from the person’s Care Admin hub. Its care-admin relevance decides when it is suggested. |
| Care Admin › Allied Session / Course Pathways | An allied health session or course | The session or course |
| Services Admin › Service Pathways | A service request | The service, or the closest service pathway for its scope |
Create it
Choose New Pathway and fill in its name, care type, organisation unit, specialty and what triggers it. It is saved as a draft.
Add stages
Choose Add Stage for each stage, with any stages it requires first.
Add widgets
Choose Add Widget on a stage: a form, a letter, a check, a claim and so on, with who completes it and whether it is required. Only published forms and active letters can be chosen.
Try it
Switch to Live preview, or choose View as Clinician or View as Patient.
Publish
Choose Publish…, add a change summary if you like, and confirm. It is now live.
- Changing a live pathway. A published pathway is read-only. Choose Edit (create draft), make the changes, and publish again.
- Going back. History lists every version. Restore makes a draft from one; publish it to go back.
- Moving between sites. Export JSON and Import copy a pathway between environments. An import keeps the kind of pathway it was exported as, so import it from the matching menu.
- Changes that skip the draft. The Active switch and Delete on the list act on the live pathway at once.
Waitlists
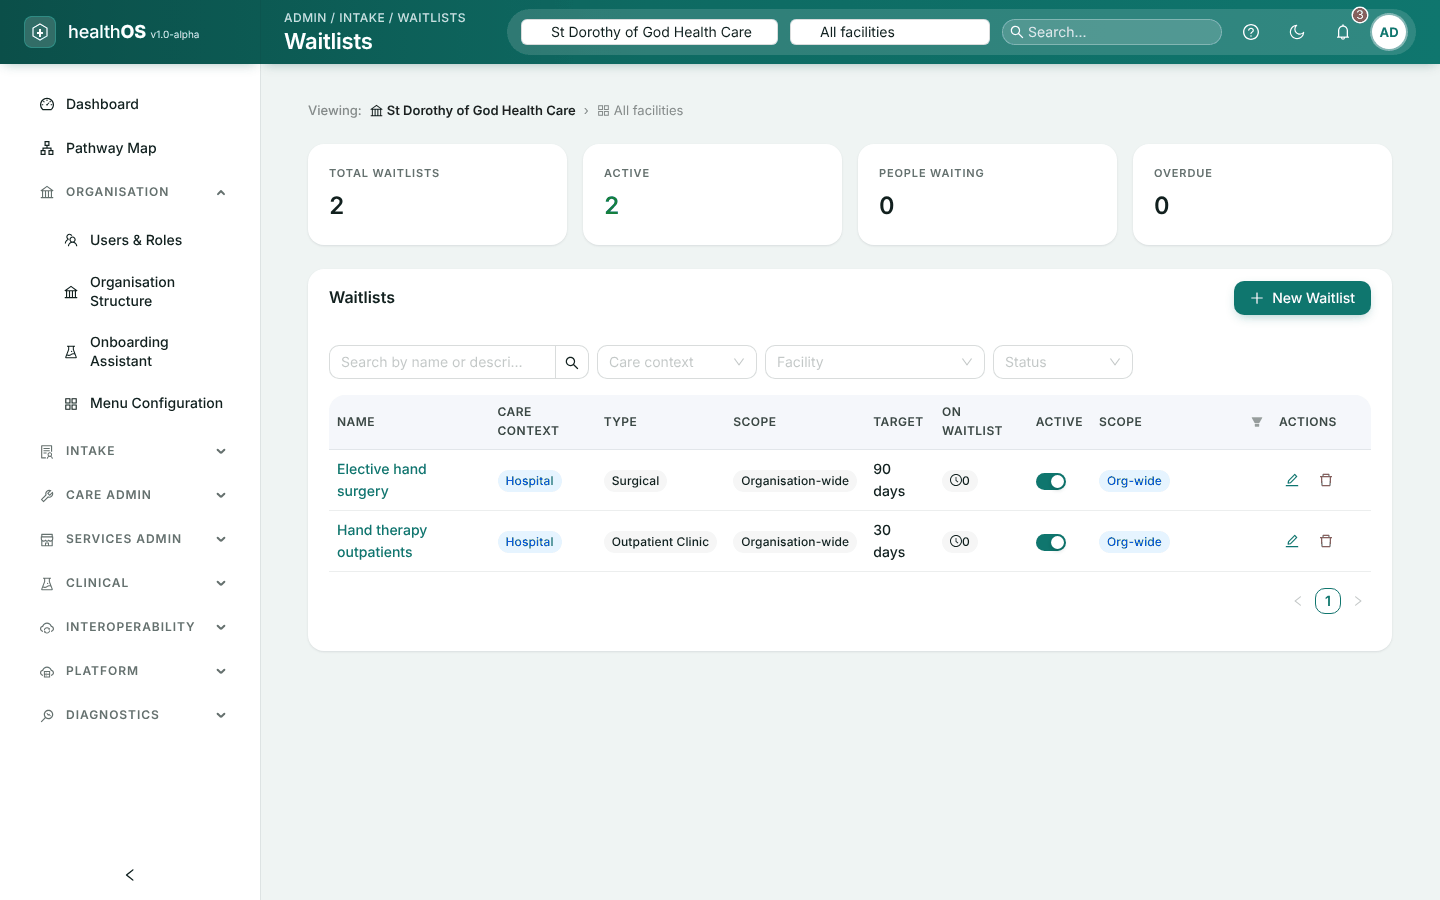
Intake › Waitlists defines the waitlists referrals can be placed on. Staff use them in the clinician app’s intake screens, and a pathway step can place people on one. Defining them needs settings rights, or the intake.waitlist.manage permission admissions and intake staff hold.
Create it
Choose New Waitlist. Give it a name, care context and type.
Scope it
Choose a facility, or leave it blank for the whole organisation. Optionally add a specialty or program code.
Set a target
Enter the target wait in days. Anyone waiting longer counts as overdue.
A new waitlist is active straight away; use the Active switch to pause one. Deleting a waitlist keeps the referrals already on it.
Forms
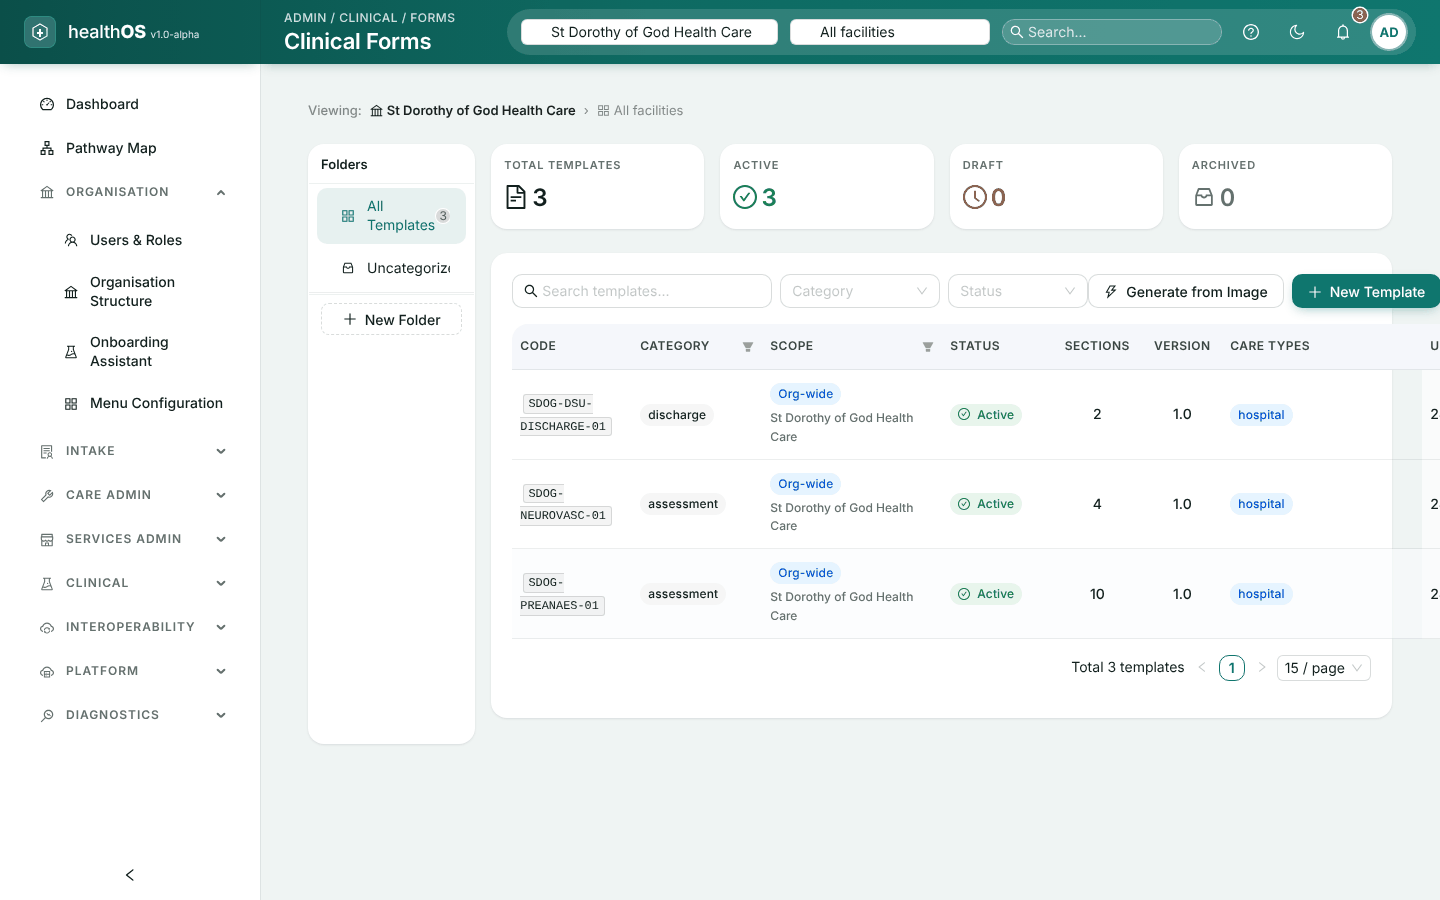
Intake › Forms, Care Admin › Forms Editor and Clinical › Clinical Forms edit the form library, each showing its own categories.
Create it
Choose New Template, or Generate from Image to draft one from a photo of a paper form.
Describe it
Fill in its code (fixed once saved), name, category, care types and specialties.
Build the layout
Add sections and fields, and check them in Live preview.
Save
Save draft to come back later, or Save & publish. Only published forms can be used in pathways and by staff.
- Editing a published form creates its next version. Forms already completed keep the version they were completed on, and pathways move to the new version when it is published.
- When publishing is refused. A form needs at least one field. Publishing is also refused if some answers would not be stored against the person’s record.
- HealthOS’s standard forms cannot be changed. Choose Duplicate to make your own copy.
- Archive takes a form out of use. Forms already completed on it are kept. It moves to the Archived list, where Restore brings it back as a draft.
Letters and emails
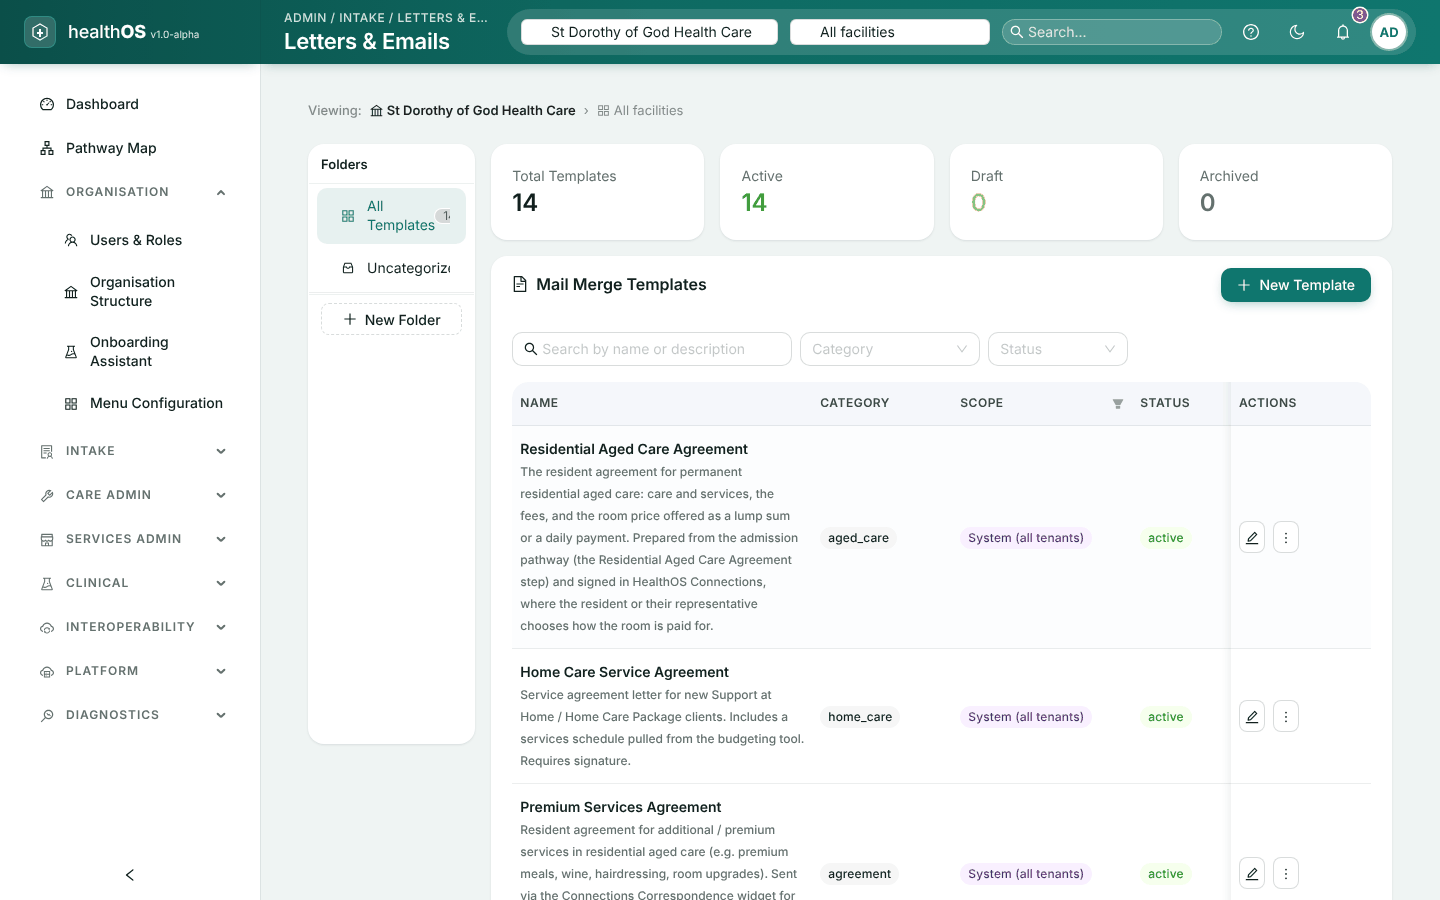
Intake › Letters & Emails, Care Admin › Mail Merge Templates and Clinical › Mail Merge Templates edit the letter and email templates staff produce from a person’s record.
Create it
Choose New Template and give it a name and category.
Write it
Write the content. Choose a field in the Merge Fields panel to insert it where the cursor is, such as the person’s name or room.
Ask for a signature (optional)
Turn on Requires E-Signature and choose who signs.
Check it
Live preview fills it in with a test person.
Make it usable
Set its status to Active, when you create it or later. Only active templates can be used in pathways.
To retire a template, choose Archive on the list. It stays under the Archived filter, and setting it back to Active returns it to use.
Care pathways
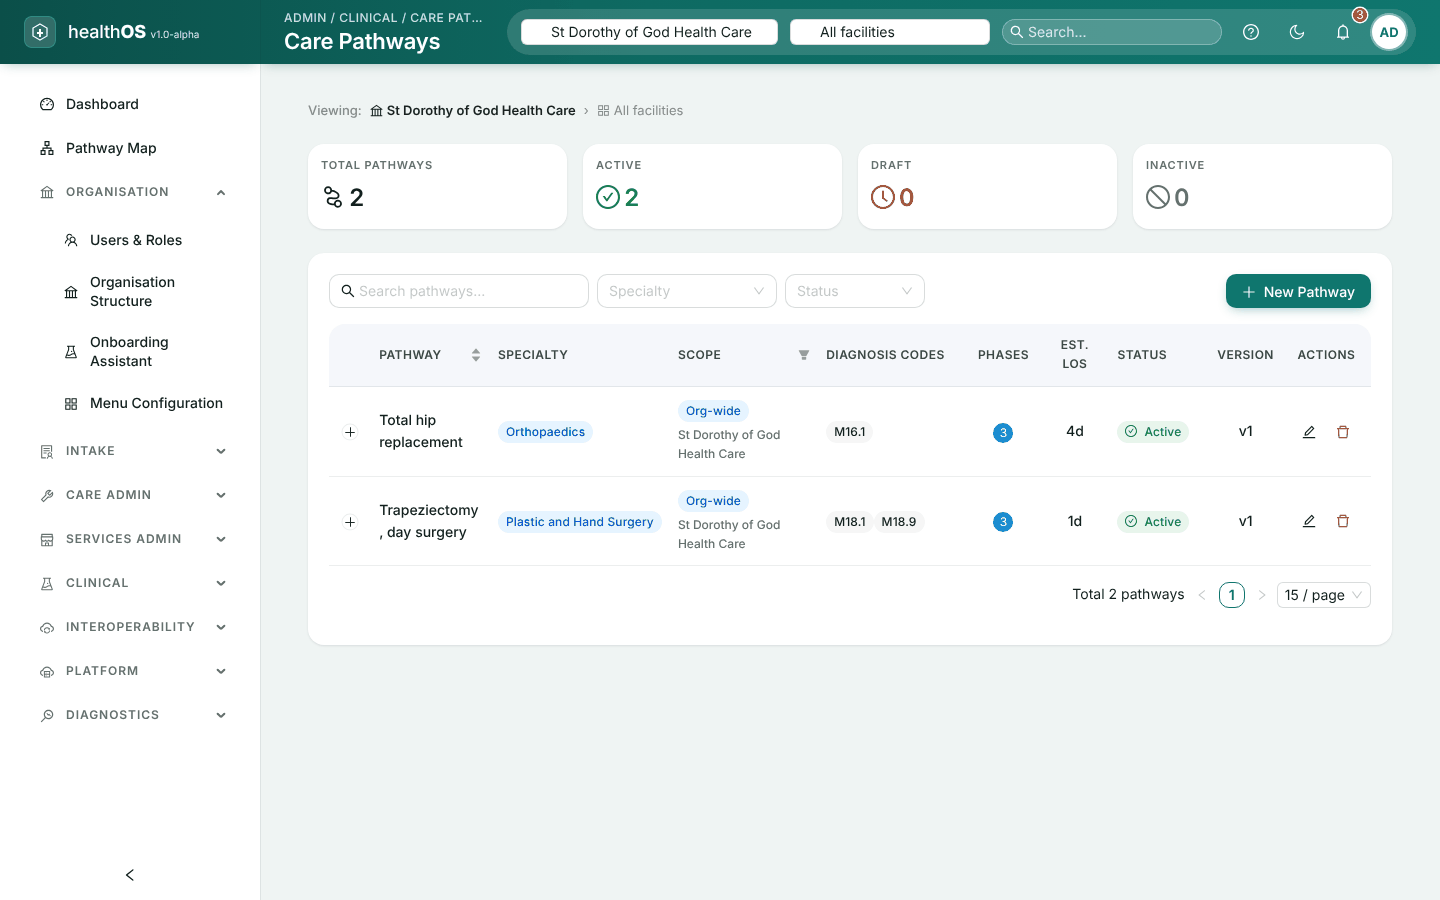
Clinical › Care Pathways holds clinical pathways from admission to discharge: phases with goals, interventions, assessments and milestones, an estimated length of stay, and the ICD-10-AM diagnosis codes they suit. The clinician app suggests a care pathway from the reason for admission.
Choose New Pathway, fill in its details, add phases with Add Phase, and save. Edit a pathway to change its details, phases or status. A phase that a patient’s care plan is following cannot be changed while that plan uses it. Deleting a pathway takes it out of the list. Changing care pathways needs settings-write authority.
Welcome pack
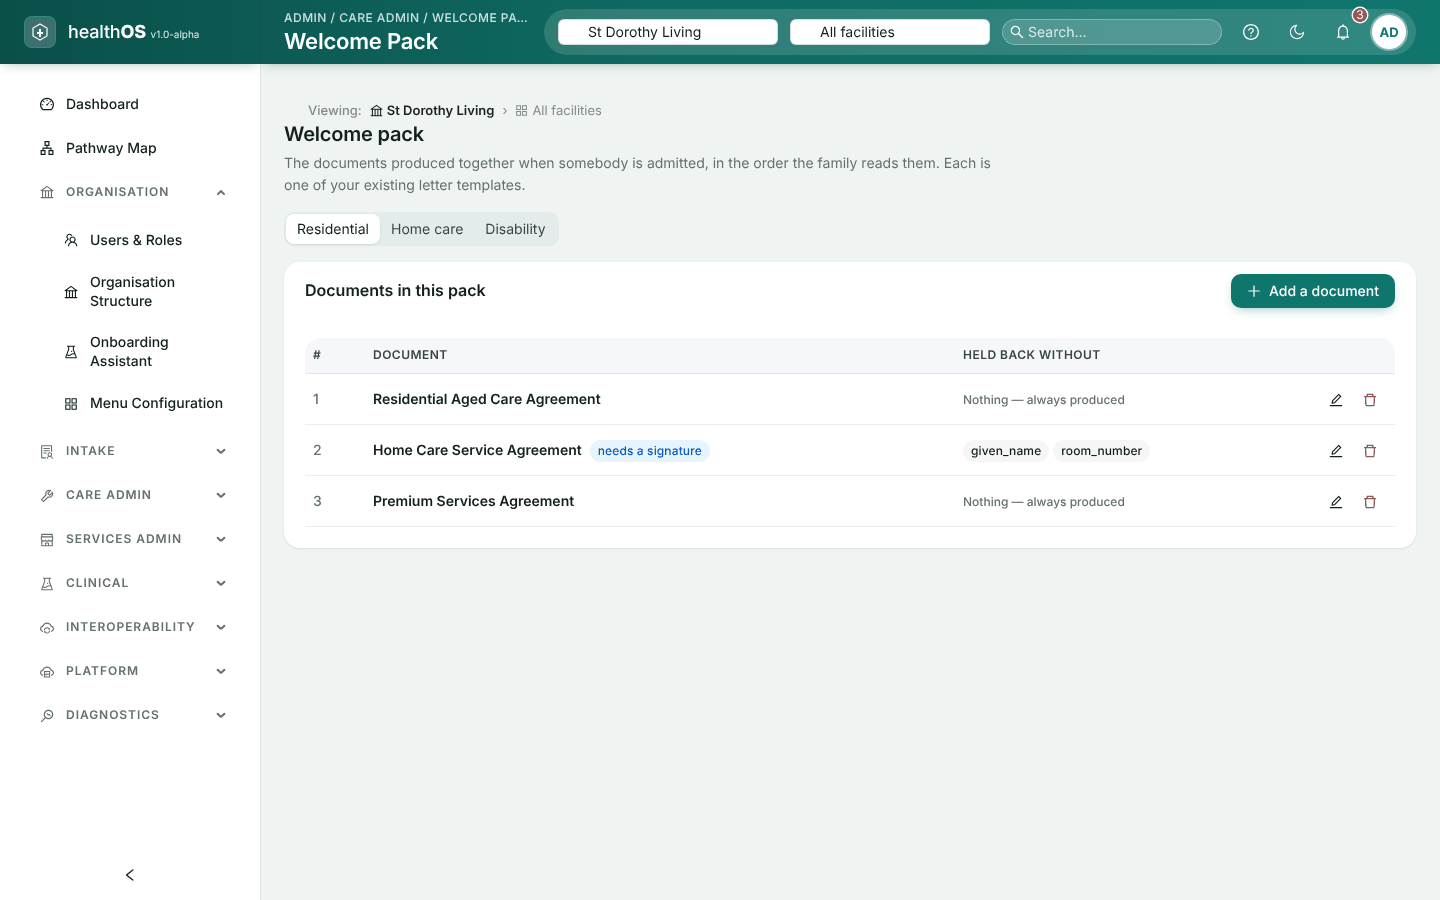
Care Admin › Welcome Pack chooses which letter templates are produced together when someone starts with you, and in what order, separately for residential care, home care and disability. Staff produce the pack from the person’s record (Records › Welcome pack).
Choose the care type
Select residential, home care or disability.
Add a document
Choose Add a document, pick a letter template, name it as it should appear, and set its position (lower comes first; leave gaps so you can insert later).
Say what it cannot do without
Under Hold this document back if these are missing, list only the details the document cannot be produced without, such as the room number. A document missing one is held back rather than printed with blanks.
Make it conditional (optional)
Use Only when this field to include it only when a detail is, or is not, recorded, and say what to show when it is left out.
Removing a document from the pack does not delete its template. A template can be in a pack only once.
Still stuck? Email support@healthos.net.au